The four bosses
A boss is one chaser that breaks a rule the ordinary ones obey, plus a clock you have to work under. There are four, they wait at fixed depths in the descent, and each is answered by a different stat — which is the entire reason your disc has a budget instead of four full bars.
How a boss fight works
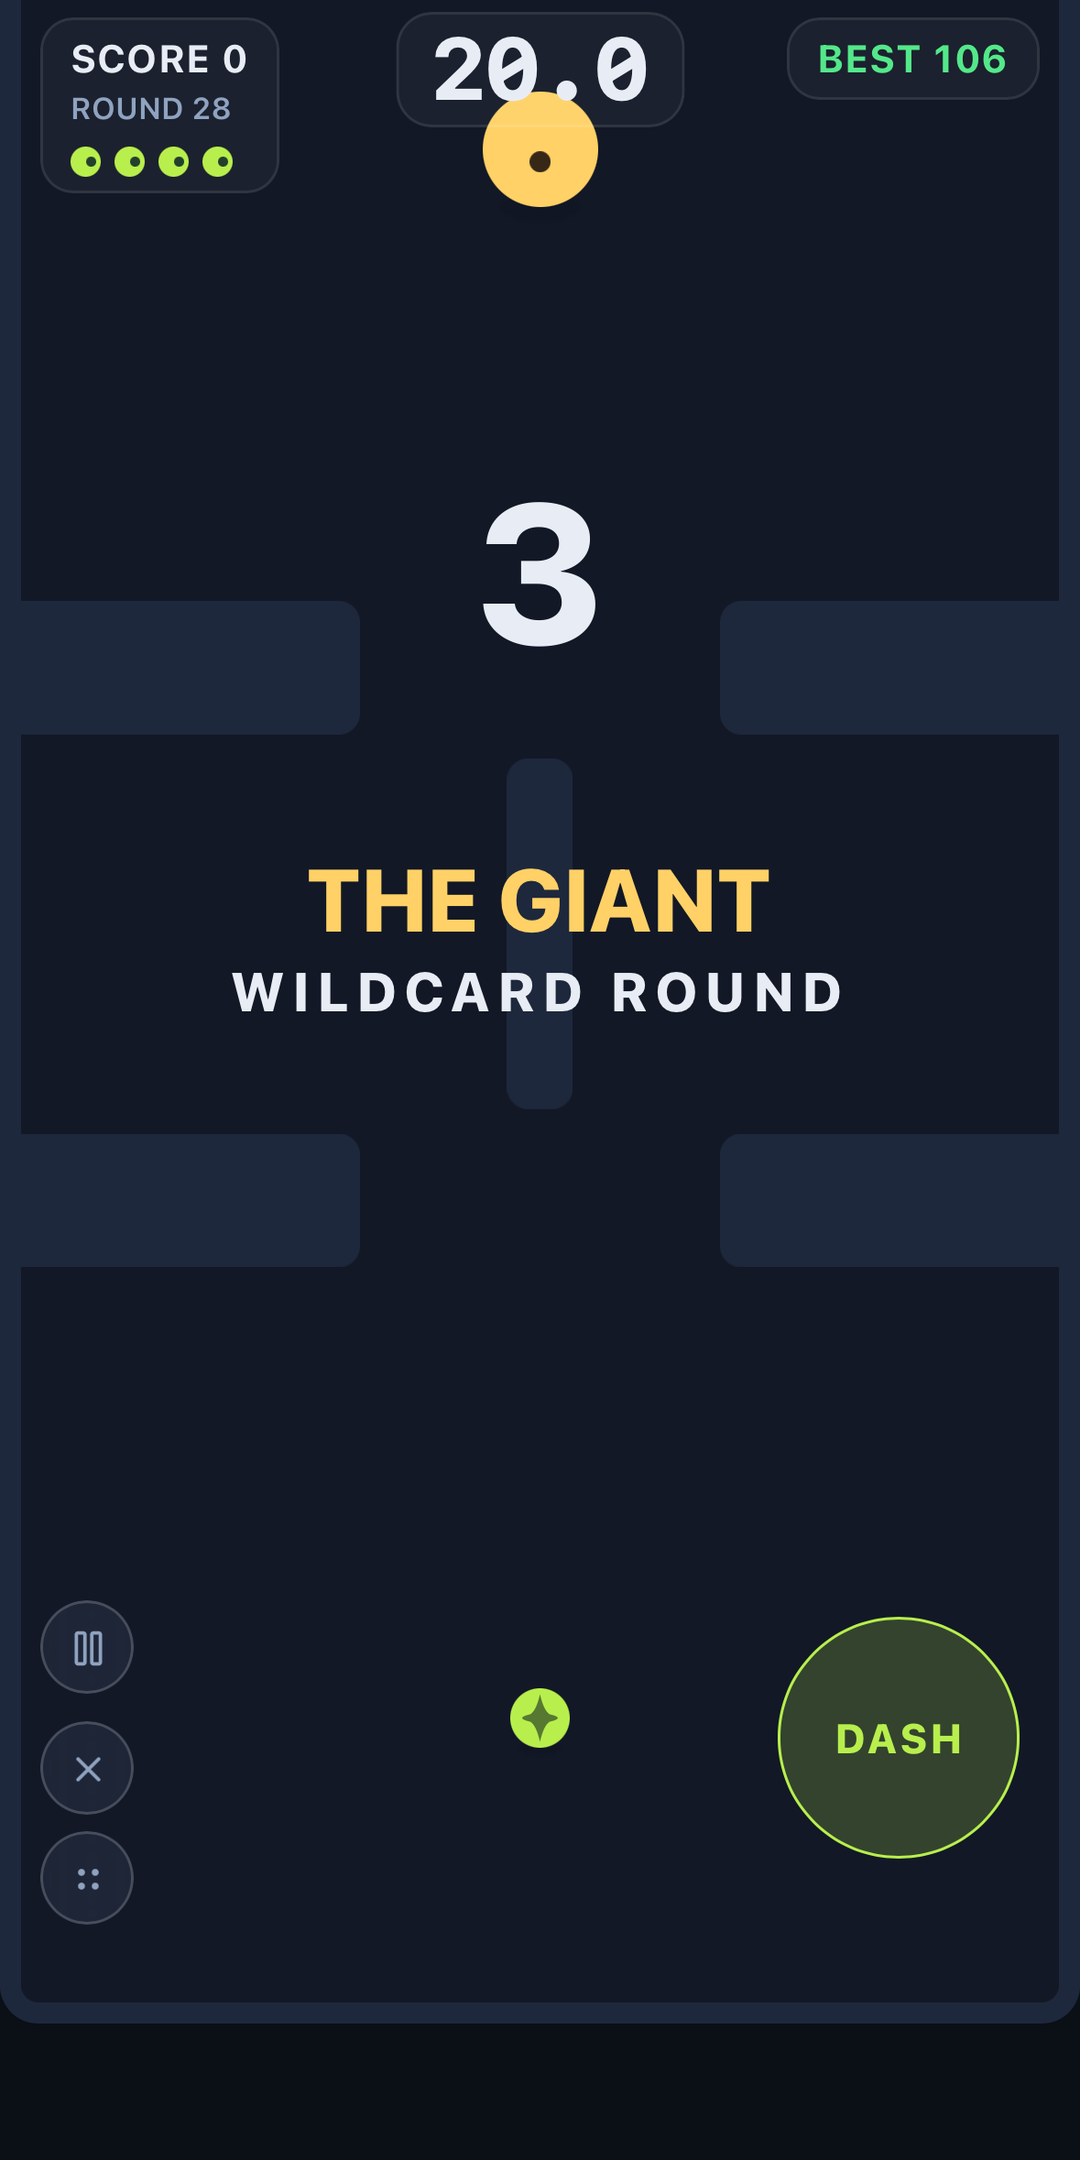
Three things make a boss floor different from an ordinary one:
- The clock is not the win condition. Every other floor is cleared by outlasting it. A boss floor is cleared by completing the mission — lighting every beacon — before the clock runs out. Letting it expire with a beacon unlit is a loss, not a draw.
- One tag ends it. There are no lives down here and no orbs spawn at all. It is your disc, the boss, the ground and the mission.
- It rages at the halfway mark. Each boss changes something about itself when the fight turns over, and announces it as it happens.
Each boss also owns its arena layout and its weather. The ground is part of the fight: THE ORACLE fights on ice specifically because ice takes away the sharp turn that would break its read.
| Boss | Floor | Answered by | Beacons / clock | Purse | Drop |
|---|---|---|---|---|---|
| THE GALE | 8 | AGILITY | 5 in 40s | 400 | MATADOR |
| THE ANVIL | 16 | STAMINA | 4 in 45s | 650 | PULSE |
| THE ORACLE | 25 | NERVE | 4 in 45s | 900 | SWAP |
| THE VEIL | 35 | SPEED | 5 in 50s | 1400 | SMOKE |
The gaps between the floors widen on purpose: each win hands you a drop, and a drop makes the next stretch survivable.
"Answered by" is advice, not a requirement. There is no stat gate — nothing stops you walking into any of these with the wrong disc. The boss card names the stat out loud because the answers are deliberately counter-intuitive, and because stat points cost coins: discovering the answer by dying would punish exactly the decision the mode is built on.
THE GALE — floor 8
Faster than you, always. You will never escape it in a straight line — cut late and make it commit.
Arena: offset combs · Weather: shifting blocks · Rage: IT STOPS CIRCLING · Mission: reach the markers before it reaches you
Flat out, THE GALE beats any ordinary chaser and it beats a maxed-SPEED disc too, so speed is not the answer no matter how much of it you buy. What it does have is a short lunge on a long cooldown, which means every commitment it makes is expensive for it. The counter is dashing late and turning — and that is AGILITY, which is what governs how far one dash carries you.
It fights in combs: offset teeth with no straight lanes, so there is no corridor to be outrun down in the first place. And the blocks shift, so the cover you cut around will not hold still while you use it.
THE ANVIL — floor 16
Slow feet, but it never stops lunging. You can walk away from it — you just cannot rest.
Arena: orbit pillars · Weather: closing walls · Rage: THE HAMMER FALLS FASTER · Mission: claim the plates before the walls take them
The exact mirror of THE GALE. You can outrun this one, but it throws a lunge roughly every second, so you are always spending charges to do it. The fight is a dash economy, which is why it asks for STAMINA — recharge rate, and the second charge arriving early enough to matter.
The arena is round pillars with smooth flowing lines: room to walk away, and nowhere to stand still. The walls close as the fight runs, which is what puts an expiry date on the "just keep walking" plan — and on the plates you have not claimed yet.
THE ORACLE — floor 25
It does not chase where you are. It goes where you are about to be, from half the arena away.
Arena: double U · Weather: ice floor · Rage: IT HAS SEEN ENOUGH · Mission: touch the nodes — it knows where you are going
Enormous reach, and it intercepts rather than follows, so it commits before you have anywhere left to go. The counter is NERVE: nerve shortens the range at which a chaser will spend a lunge, and shortening that range is the only way to force this thing to come closer before it fires.
The ground is ice, so momentum carries you and the sharp turn that would break its read is not available. The layout is a double U — real traps, because the only other counter to something that reads your heading is breaking its line of sight.
THE VEIL — floor 35
It fights with the lights out. You will see it late, every time.
Arena: scatter · Weather: darkness · Rage: THE LIGHT GOES OUT · Mission: light the beacons — you will not see them coming
The last fight is the one your stats alone cannot fully answer. The scatter layout has few landmarks, and the dark takes away what little you had to steer by, so the fight is largely about having played in the dark before. SPEED is what covers the gap while you are blind — it is the stat that shortens the time you spend not knowing where anything is.
Its rage is the only one that makes the fight harder to see rather than harder to survive.
What a win is worth
- The drop. One per boss, handed over the first time you put it down, and never again. Drops are described in full on the Arena page.
- The purse, in coins. A repeat win pays 20% of it.
- +20 MAX POWER, permanently. This is the same currency the descent pays in depth, and coins can never buy it.
- A checkpoint. Once a boss is beaten, a tag later in the run puts you back on the floor after that fight instead of ending the descent. Beat nothing and a tag costs you everything.
Because a checkpoint also reopens the drop lock, the stretch after a boss is genuinely a fresh attempt: you get to reconsider what you are carrying based on what just killed you.
A note on difficulty
The first boss is the hardest one most players meet, and that is a real and slightly awkward property of the design rather than a claim about your skill. Each drop makes the next fight easier, so the curve inside the boss set runs gently downhill even as the floors around them get worse. It is on the list to address by scaling a boss against how much kit you are carrying.
PLAY QUAD CHASE